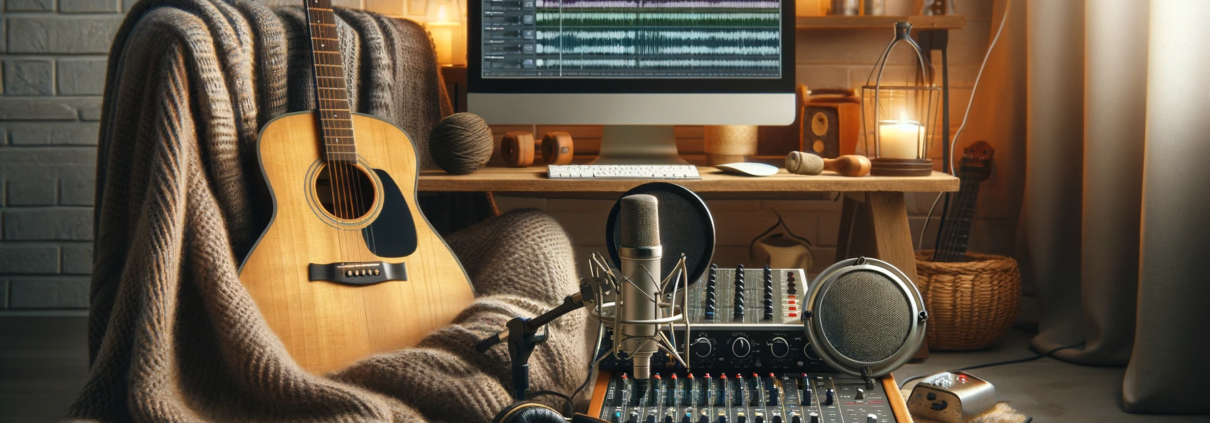
Guide to Recording Guitar at Home
In the era of digital technology, recording guitar at home has become more accessible than ever. Whether you’re a budding songwriter, a cover artist, or just looking to capture your practice sessions, setting up a home recording studio can be a rewarding experience. In this blog post, we’ll guide you through the basics of recording guitar at home, from equipment to techniques.
1. Essential Equipment:
Before you start, you’ll need some basic equipment. This includes:
- Guitar: Acoustic or electric, depending on your style and preference.
- Audio Interface: Converts your guitar’s signal into a digital format for your computer.
- Microphone (for acoustic guitar or amp recording): A good quality condenser or dynamic mic.
- DAW (Digital Audio Workstation): Software for recording and editing your music.
- Headphones or Monitors: For accurate playback and mixing.
- Cables and Stands: Necessary for connecting and positioning your equipment.
2. Setting Up Your Space:
Choose a quiet and comfortable space for recording. For acoustic guitar, the room acoustics play a significant role. You might want to experiment with different rooms to see which one sounds best. For electric guitar, the room acoustics are less critical, especially if you’re recording directly into an interface.
3. Microphone Techniques (for Acoustic Guitar):
Positioning the microphone correctly can drastically affect the sound quality. Try placing the mic about six inches away from the 12th fret or near the soundhole for a fuller sound. Experiment with different positions to find the best sound.
4. Recording Electric Guitar:
For electric guitar, you have two main options:
- Direct Recording: Plug your guitar directly into the audio interface. This method is clean and controlled, and you can use virtual amp simulators in your DAW for different sounds.
- Mic’ing an Amp: Place the microphone in front of your amp. Start with the mic a few inches away from the center of the speaker and experiment with placement.
5. Recording Tips:
- Gain Staging: Set the right input levels on your interface to avoid clipping or too low signals.
- Multiple Takes: Record several takes and choose the best parts from each.
- Use a Metronome: Helps in keeping your timing consistent.
- Experiment with Effects: But be wary of overusing them during recording – some effects are better added during mixing.
6. Editing and Mixing:
Once you’ve recorded your guitar, use your DAW to edit and mix the tracks. Basic editing might include trimming the tracks, adjusting the timing, and combining the best parts of different takes. Mixing involves balancing levels, panning, and applying effects like EQ, reverb, or compression.
Conclusion:
Recording guitar at home is a skill that develops with practice and experimentation. Don’t be discouraged by initial challenges; each recording session is a learning experience. With time, you’ll develop your techniques and start producing recordings that capture the essence of your guitar playing.
—
If you want to set up a free trial lesson either in person or online, simply fill out this form and we’ll get back to you within 24 hours. You’ve got nothing to lose and an amazing musical world to gain. 🙂


